
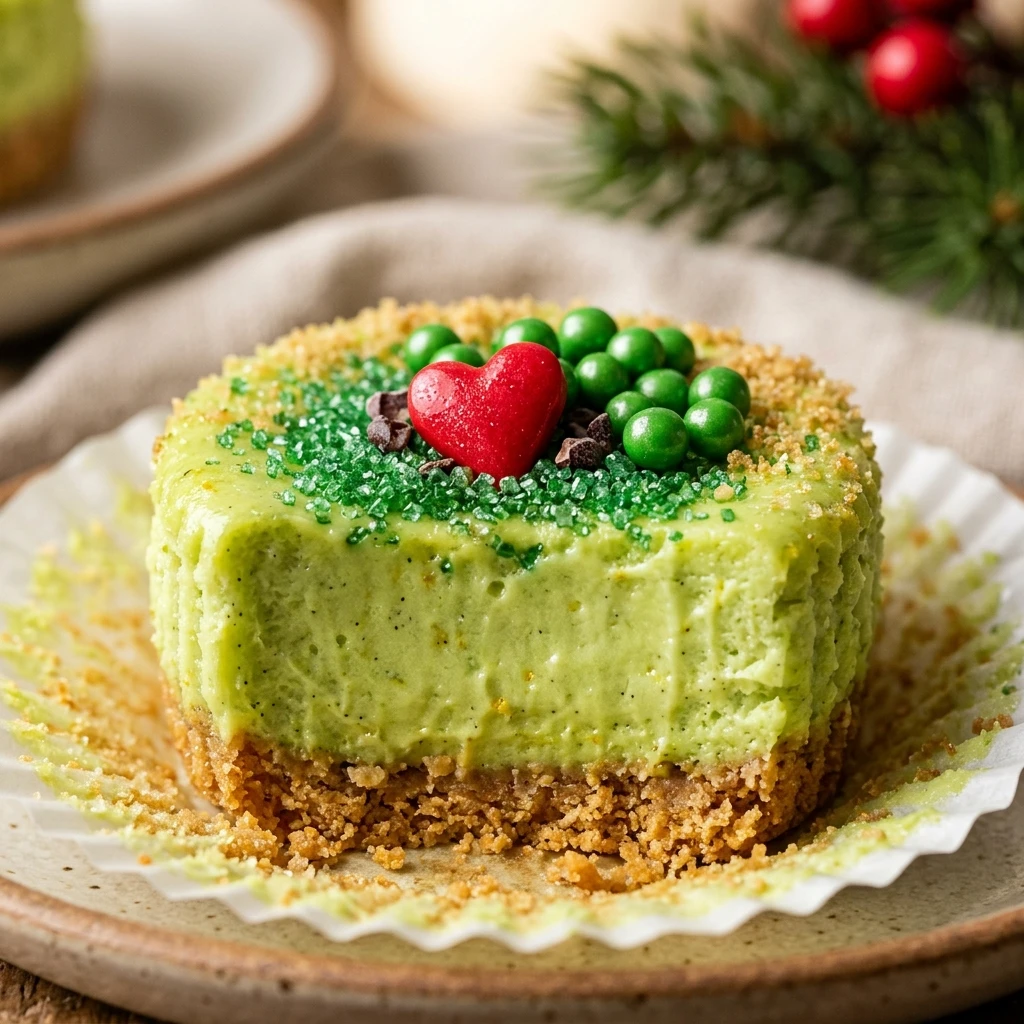
Every year when the holiday season rolls around, I look for ways to add a bit of whimsy to our dessert table. These Grinch Mini Cheesecakes are the perfect festive treat, combining a creamy texture with that signature neon green color. They always spark a conversation and bring a smile to everyone’s face, making them a staple for my family’s Christmas Eve gathering.
Recipe Details
Recipe Information
- Prep Time: 20 minutes
- Cook Time: 20 minutes
- Total Time: 40 minutes
- Servings: 12 servings
- Difficulty: Easy
Nutrition Information (Per Serving)
- Calories: 245 calories
- Protein: 4 grams
- Carbs: 18 grams
- Fat: 18 grams
Why You’ll Love This Grinch Mini Cheesecakes
These bite-sized desserts are the ultimate holiday crowd-pleaser because they balance a playful appearance with a sophisticated, creamy flavor. Since they are baked in a muffin tin, they are perfectly portioned for holiday parties, eliminating the need for messy slicing. The vibrant green hue and the tiny red heart on top pay a sweet tribute to the classic Christmas tale, making them a hit with both children and adults. Best of all, they are incredibly simple to put together, leaving you more time to enjoy the festivities with your loved ones.
Grinch Mini Cheesecakes Ingredients & Substitutions
- 1 cup graham cracker crumbs
- 2 tablespoons unsalted butter, melted
- 1 tablespoon granulated sugar (for crust)
- 16 ounces cream cheese, softened to room temperature
- 1/2 cup granulated sugar (for filling)
- 1/4 cup sour cream
- 1 teaspoon alcohol-free vanilla extract
- 2 large eggs
- Neon green gel food coloring
- Whipped cream for topping
- 12 large red heart-shaped sprinkles
If you prefer a different base, you can substitute the graham crackers with crushed chocolate sandwich cookies or ginger snaps for a spicy holiday twist. For the filling, Greek yogurt works well as a replacement for sour cream if you want a slightly tangier profile. If you cannot find red heart sprinkles, a small dot of red frosting or a tiny piece of a strawberry can represent the Grinch’s growing heart perfectly. For those looking for natural options, a teaspoon of matcha powder can provide a lovely green tint, though it will subtly change the flavor profile.
Step-by-Step Instructions to Make Grinch Mini Cheesecakes
Step 1: Preparation and Oven Setup
Preheat your oven to 325 degrees Fahrenheit. Line a standard 12-cup muffin tin with paper liners to ensure the cheesecakes are easy to remove once they are chilled.
Step 2: Create the Graham Cracker Crust
In a small bowl, combine the graham cracker crumbs, melted butter, and one tablespoon of sugar. Stir the mixture until it resembles wet sand. Press about one tablespoon of the mixture into the bottom of each cupcake liner, using the back of a spoon or a small glass to pack it down firmly.
Step 3: Cream the Cheese and Sugar
In a large mixing bowl, beat the softened cream cheese and half a cup of sugar together until the mixture is completely smooth and fluffy. It is important that the cream cheese is at room temperature to avoid any lumps in your final dessert.
Step 4: Incorporate Remaining Liquid Ingredients
Mix in the sour cream and the alcohol-free vanilla extract until well combined. Add the eggs one at a time, beating on low speed just until each egg is incorporated. Be careful not to overmix at this stage, as too much air can cause the cheesecakes to crack during baking.
Step 5: Color the Batter and Bake
Add a few drops of the neon green gel food coloring to the batter and stir gently. Continue adding color until you reach your desired “Grinchy” green shade. Divide the batter evenly among the 12 muffin liners. Bake for 18 to 20 minutes, or until the edges are set and the centers only have a slight jiggle. Remove from the oven and allow them to cool completely in the pan before refrigerating for at least two hours.
Step 6: Decorate and Serve
Once the cheesecakes are fully chilled and firm, remove them from the muffin tin. Top each cheesecake with a swirl of whipped cream and place a single red heart sprinkle on the side of the cream to symbolize the Grinch’s heart growing three sizes.
Tips for Success
To get the smoothest texture, always ensure your cream cheese, eggs, and sour cream are at room temperature before you start mixing. When adding the food coloring, use a gel-based dye rather than a liquid one, as gel is more concentrated and will not alter the consistency of the batter. If you notice your cheesecakes sinking slightly in the middle as they cool, do not worry. This creates a perfect little well for the whipped cream topping. To prevent cracking, avoid opening the oven door during the baking process, as sudden temperature changes can cause the delicate batter to split.
Variations of Grinch Mini Cheesecakes
For a minty holiday version, you can replace the alcohol-free vanilla extract with a tiny drop of peppermint extract. This pairs beautifully with the chocolate cookie crust mentioned in the substitutions. If you want a more decadent dessert, you can swirl a bit of melted white chocolate into the green batter before baking. For a “Max the Dog” inspired variation, you could even add a small pretzel piece to some of the cheesecakes to represent the reindeer antlers, though the classic green look remains the most popular choice for Christmas parties.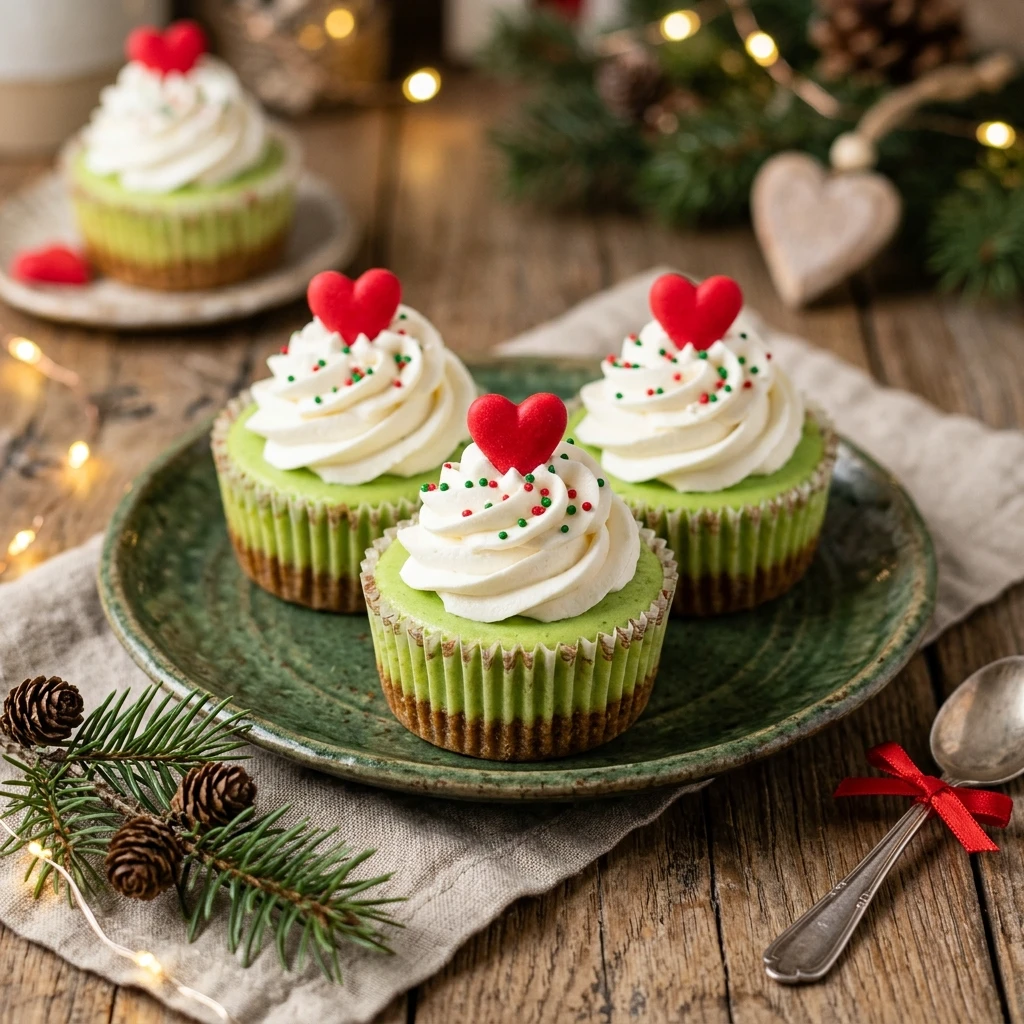
Serving Suggestions: What to Pair with Grinch Mini Cheesecakes
These festive cheesecakes look wonderful on a white platter surrounded by small evergreen sprigs or red ornaments. They pair exceptionally well with a warm cup of cocoa or a spiced cider. If you are serving them at a dessert buffet, consider placing them alongside red velvet cookies or a dark chocolate fudge to create a beautiful color contrast. Since they are quite rich, they also go well with fresh berries like raspberries or strawberries, which complement the creamy cheesecake filling and match the red heart decoration.
Storage & Reheating Instructions
Store these cheesecakes in an airtight container in the refrigerator for up to five days. It is best to add the whipped cream and heart sprinkles just before serving to keep the topping fresh and prevent the color from the sprinkle from bleeding. If you need to store them for longer, these cheesecakes freeze very well. Place the undecorated cakes on a baking sheet to freeze individually, then wrap them in plastic wrap and store them in a freezer bag for up to two months. Thaw them in the refrigerator overnight before decorating and serving. There is no need to reheat these treats, as they are best enjoyed cold.
Memories Made Around the Table
I remember one particular Christmas where the snow was falling heavily outside and the house was filled with the scent of pine and sugar. My children were small, and they were so excited to help me place the “tiny hearts” on top of these green cakes. We sat around the kitchen island, laughing about the story of the Grinch and talking about the importance of kindness during the holidays. Every time I make these now, I am reminded of that afternoon and how a simple dessert can turn into a lasting family tradition that we all look forward to every December.
FAQs
How long do these need to chill before serving?
For the best texture and to ensure they hold their shape, these mini cheesecakes should chill in the refrigerator for at least two to four hours. Overnight is even better if you have the time, as it allows the flavors to fully develop.
Can I make these without a muffin tin?
It is difficult to make mini cheesecakes without a structured tin because the batter is thin before it bakes. If you do not have a muffin tin, you can use sturdy foil liners placed on a regular baking sheet, but they may spread slightly more than they would in a tin.
Why did my mini cheesecakes sink in the middle?
It is very common for mini cheesecakes to have a slight dip in the center as they cool. This usually happens if too much air was whipped into the batter or if they cooled too quickly. Fortunately, this is the perfect spot to tuck your whipped cream topping.
Can I use liquid food coloring?
You can use liquid food coloring, but you will likely need to use more of it to achieve a vibrant green color. Be aware that adding too much liquid can slightly change the texture of the cheesecake, which is why gel coloring is generally recommended for baking.
Do I need to use a water bath for this recipe?
No, a water bath is generally not necessary for mini cheesecakes. Because they are small, they bake through quickly and evenly without the need for the extra moisture and insulation that a water bath provides for full-sized cheesecakes.
Final Thoughts
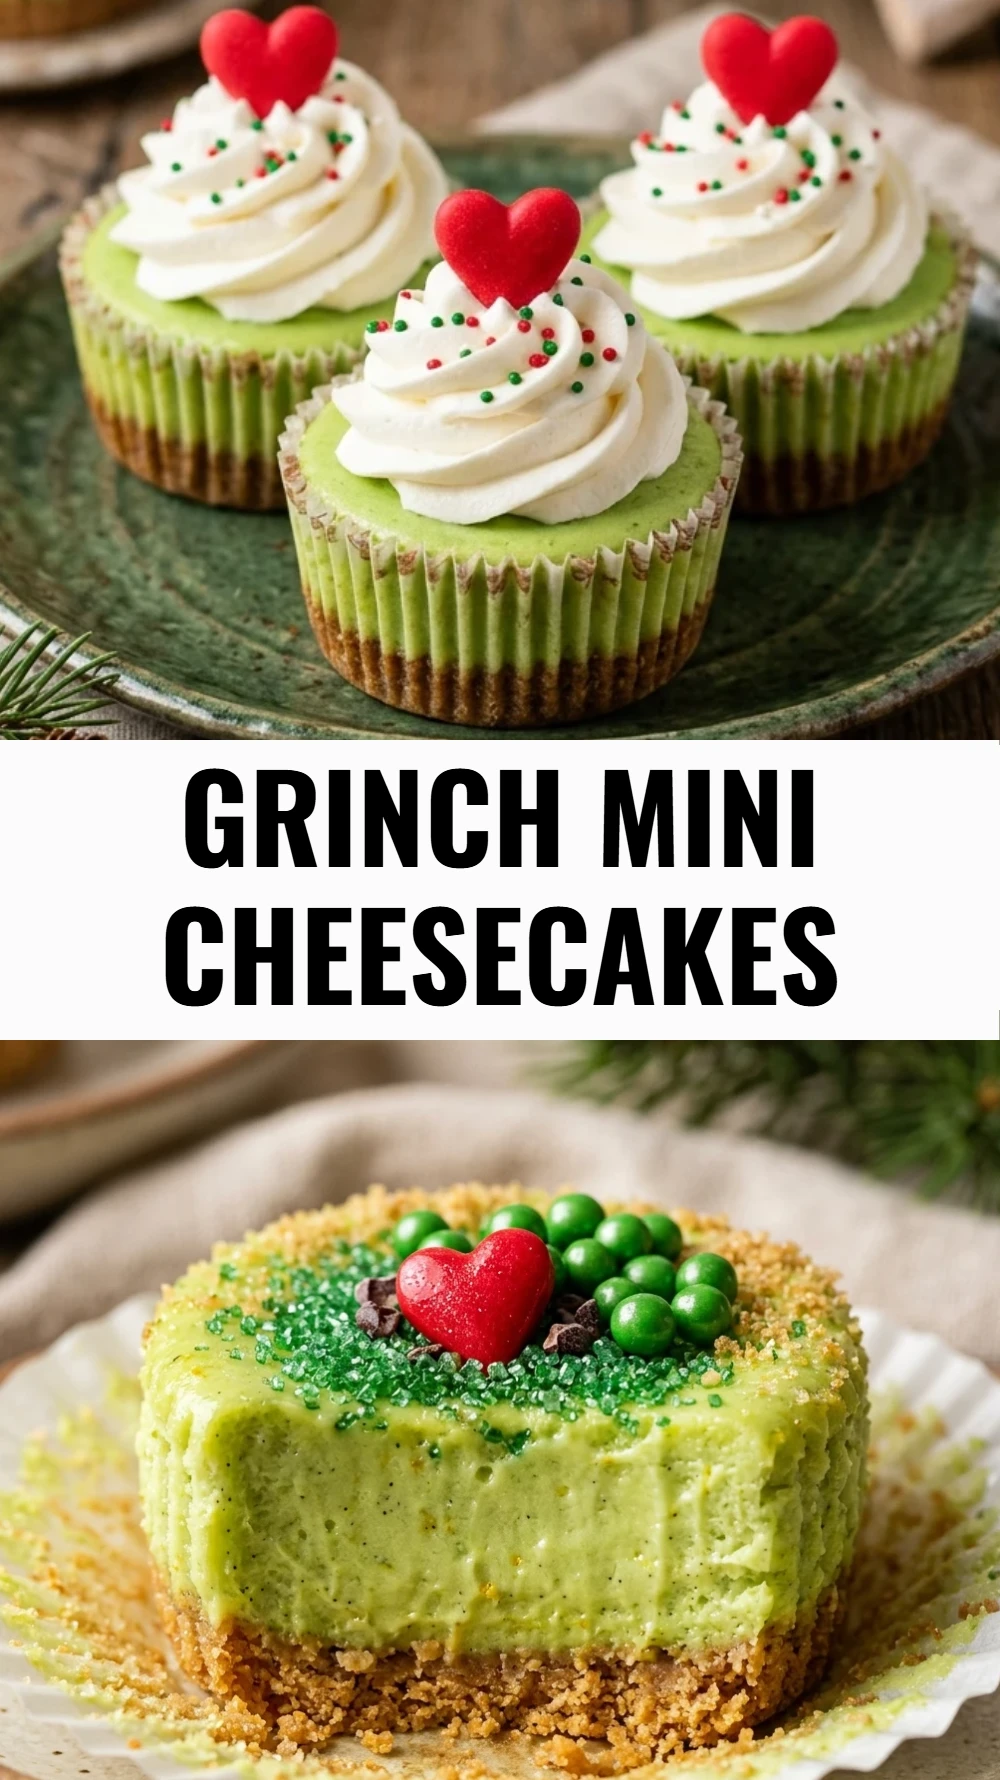
These Grinch Mini Cheesecakes are a delightful addition to any Christmas celebration, bringing a touch of literary charm to your dessert menu. They are simple to prepare, easy to customize, and always a favorite among guests of all ages. By following these steps and using quality ingredients like alcohol-free vanilla and room-temperature cream cheese, you will create a festive treat that tastes just as magical as the holiday season itself. Enjoy the process of decorating them and sharing the joy of a homemade treat with those you love most.
Grinch Mini Cheesecakes
- Total Time: 40 minutes
Ingredients
- 1 cup graham cracker crumbs
- 2 tablespoons unsalted butter, melted
- 1 tablespoon granulated sugar (for crust)
- 16 ounces cream cheese, softened to room temperature
- 1/2 cup granulated sugar (for filling)
- 1/4 cup sour cream
- 1 teaspoon alcohol-free vanilla extract
- 2 large eggs
- Neon green gel food coloring
- Whipped cream for topping
- 12 large red heart-shaped sprinkles
Instructions
- Preheat your oven to 325 degrees Fahrenheit. Line a standard 12-cup muffin tin with paper liners to ensure the cheesecakes are easy to remove once they are chilled.
- In a small bowl, combine the graham cracker crumbs, melted butter, and one tablespoon of sugar. Stir the mixture until it resembles wet sand. Press about one tablespoon of the mixture into the bottom of each cupcake liner, using the back of a spoon or a small glass to pack it down firmly.
- In a large mixing bowl, beat the softened cream cheese and half a cup of sugar together until the mixture is completely smooth and fluffy. It is important that the cream cheese is at room temperature to avoid any lumps in your final dessert.
- Mix in the sour cream and the alcohol-free vanilla extract until well combined. Add the eggs one at a time, beating on low speed just until each egg is incorporated. Be careful not to overmix at this stage, as too much air can cause the cheesecakes to crack during baking.
- Add a few drops of the neon green gel food coloring to the batter and stir gently. Continue adding color until you reach your desired “Grinchy” green shade. Divide the batter evenly among the 12 muffin liners. Bake for 18 to 20 minutes, or until the edges are set and the centers only have a slight jiggle. Remove from the oven and allow them to cool completely in the pan before refrigerating for at least two hours.
- Once the cheesecakes are fully chilled and firm, remove them from the muffin tin. Top each cheesecake with a swirl of whipped cream and place a single red heart sprinkle on the side of the cream to symbolize the Grinch’s heart growing three sizes.
- Cook Time: 40 minutes
- Diet: Vegetarian