

I always find that the most joyful part of our holiday gathering happens around the snack table, and nothing brings people together quite like a festive spread. Every year, I look forward to assembling this Christmas Tree Charcuterie Board because it doubles as a beautiful centerpiece and a delicious appetizer. I love how the vibrant greens of the rosemary and the deep reds of the berries create a stunning holiday scene that feels both sophisticated and welcoming. It is my favorite way to kick off the celebrations while we wait for the main course to be served.
Recipe Details
Recipe Information
- Prep Time: 30 minutes
- Cook Time: 0 minutes
- Total Time: 30 minutes
- Servings: 8 servings
- Difficulty: Easy
Nutrition Information (Per Serving)
- Calories: 340
- Protein: 14g
- Carbs: 18g
- Fat: 24g
Why You’ll Love This Christmas Tree Charcuterie Board
You will absolutely adore this Christmas Tree Charcuterie Board because it requires zero cooking, making it the perfect stress-free addition to a busy holiday schedule. It is incredibly customizable, allowing you to use your favorite cheeses and seasonal fruits to suit your family’s tastes. The visual impact of the tree shape is always a conversation starter, yet it is simple enough for even the little ones to help assemble. It perfectly balances salty, savory, and sweet flavors in every bite.
Christmas Tree Charcuterie Board Ingredients & Substitutions
- 8 ounces sharp cheddar cheese, cubed
- 8 ounces Monterey Jack or white cheddar cheese, cubed
- 6 ounces turkey deli slices, folded into small ribbons
- 6 ounces beef bresaola or smoked turkey breast, thinly sliced
- 1 cup green grapes
- 1 cup red grapes
- 1/2 cup fresh blackberries
- 1/2 cup fresh raspberries
- 1 cup assortment of crackers, round and rectangular
- 1/2 cup roasted almonds or walnuts
- 1 bunch fresh rosemary sprigs
- 1 small star-shaped piece of cheese or a yellow bell pepper for the topper
- 1 pretzel rod or a small bunch of cinnamon sticks for the tree trunk
If you want to vary the flavors, you can substitute the cheddar for smoked gouda or use gluten-free crackers to accommodate different needs. Fresh thyme or sage can work as a greenery substitute if rosemary is not available, and you can easily swap the berries for dried cranberries or apricots for a different texture. For a nut-free version, simply replace the almonds with pumpkin seeds or extra olives.
Step-by-Step Instructions to Make Christmas Tree Charcuterie Board
Step 1: Prepare the Board and Trunk
Start with a large wooden board or a clean flat platter. Place your pretzel rod or cinnamon sticks at the bottom center of the board to act as the trunk of the tree. This provides a clear anchor for your design and helps you stay centered as you build upward.
Step 2: Create the Foundation Layers
Begin building the bottom layer of the tree by placing a row of green grapes or large cheese cubes in a wide horizontal line just above the trunk. Make sure this first layer is the widest part of your triangle shape to ensure the tree looks balanced as it narrows toward the top.
Step 3: Layer the Meats and Cheeses
Continue building upward by alternating rows of different ingredients. Add a row of folded turkey deli slices, followed by a row of white cheddar cubes. Each subsequent row should be slightly shorter than the one below it to create that classic evergreen silhouette.
Step 4: Incorporate Color and Texture
Fill in the middle sections with red grapes and berries to add pops of festive color. Intersperse rows of crackers and nuts to provide crunch and variety. Using different colors for each row makes the Christmas tree shape more distinct and visually appealing.
Step 5: Add the Greenery Garnish
Tuck small sprigs of fresh rosemary between the rows of food. The rosemary mimics the look of pine needles and adds a wonderful aromatic element to the board. Ensure the sprigs poke out slightly at the edges to soften the shape and give it a more natural appearance.
Step 6: The Finishing Star
Top your tree with a star cut from a thick slice of cheese or a yellow bell pepper. This final touch completes the look. Double check for any large gaps on the board and fill them with extra nuts or small berries to make the display look lush and full.
Tips for Success
To keep the board looking fresh, I recommend cutting your cheese cubes to a uniform size, about half an inch each. This makes the rows look much neater and easier for guests to grab. If you are using juicy fruits like berries, make sure they are completely dry after washing so they do not make the crackers or cheese soggy. I also find it helpful to lightly sketch a triangle shape on the board with a bit of parchment paper or just visualize it before you start placing the heavier items.
Variations of Christmas Tree Charcuterie Board
For a sweet twist, you can create a dessert version of this board using mini brownies, marshmallows, strawberries, and green apple slices, using chocolate dipping sauce on the side. Another great variation is a Mediterranean style board featuring olives, feta cheese cubes, cucumbers, and pita triangles arranged in the tree shape. You can even make individual mini tree boards on small appetizer plates if you are hosting a formal seated dinner and want everyone to have their own portion.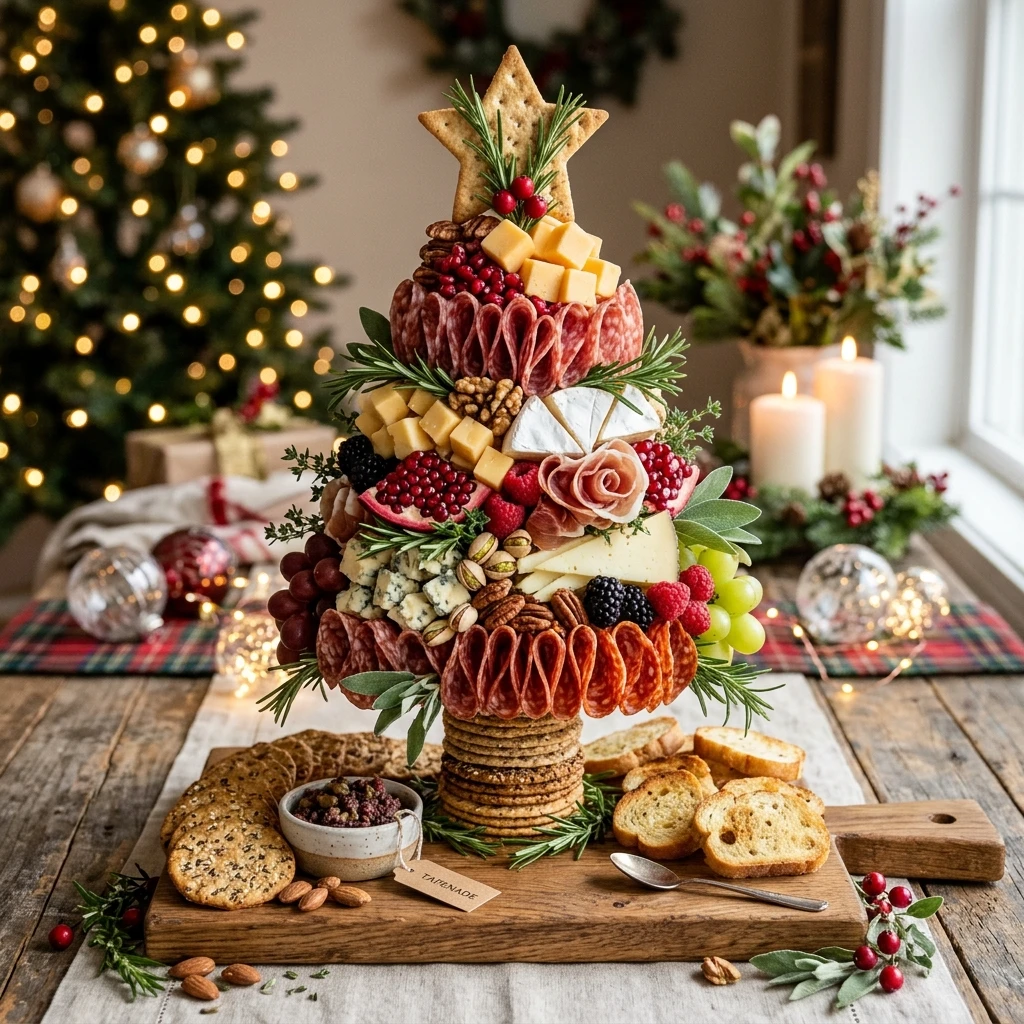
Serving Suggestions: What to Pair with Christmas Tree Charcuterie Board
This board pairs wonderfully with a chilled sparkling apple cider or a festive grape juice spritzer mixed with a splash of lime. For a more savory pairing, serve it alongside warm crusty bread and a small bowl of honey or balsamic glaze for drizzling. It also complements a warm bowl of tomato soup or a light winter salad if you are using the board as part of a larger lunch spread.
Storage & Reheating Instructions
Since this is a cold appetizer, no reheating is required. If you have leftovers, disassemble the board and store the components separately in airtight containers in the refrigerator. The cheese and meats will stay fresh for up to three days, while the crackers should be kept in a sealed bag at room temperature to maintain their crispness. I do not recommend freezing the assembled board as the textures of the fresh fruit and cheese will change significantly.
Memories Made Around the Table
I remember one particular Christmas Eve when the snow was falling heavily outside and my kitchen was filled with the scent of pine and cinnamon. My nieces and nephews gathered around the counter, each taking turns placing a grape or a cube of cheese onto the board. We laughed as we tried to make the “perfect” star for the top, and by the time we finished, the board was a bit messy but absolutely full of love. Seeing their faces light up when we finally placed it on the table is a memory I cherish every year, reminding me that the best part of the holidays is the time spent creating together.
FAQs
Can I assemble this board ahead of time?
Yes, you can assemble the meat and cheese portions of the board up to four hours in advance. Wrap the entire board tightly in plastic wrap and keep it refrigerated. I suggest adding the crackers and nuts just before serving so they stay perfectly crunchy.
What is the best type of board to use?
A large wooden cutting board or a slate platter works best because it provides a sturdy, flat surface. If you do not have a large board, you can also arrange the tree shape directly on a clean piece of parchment paper laid out on your dining table.
How do I keep the rosemary from wilting?
Keep the rosemary in a damp paper towel in the refrigerator until the very moment you are ready to assemble the board. Once it is on the platter, it will stay fresh for several hours at room temperature, which is usually plenty of time for a party.
What are some good alternatives to turkey deli meat?
You can use thin slices of roast beef, smoked turkey, or even small pieces of grilled chicken. If you prefer to skip meat entirely, simply increase the variety of cheeses and add more dried fruits or marinated artichoke hearts to fill the space.
Is this board suitable for a large crowd?
This recipe serves about eight people as an appetizer. For a larger party, you can simply increase the quantities and make a much larger tree, or create two separate trees at either end of your serving table to prevent crowding.
Final Thoughts
The Christmas Tree Charcuterie Board is more than just a snack, it is a festive experience that brings a bit of magic to your holiday table. Whether you follow the rows exactly or put your own creative spin on the ingredients, the result is always a beautiful and delicious treat. I hope this recipe brings as much joy to your home as it does to mine. Happy holidays and happy snacking!
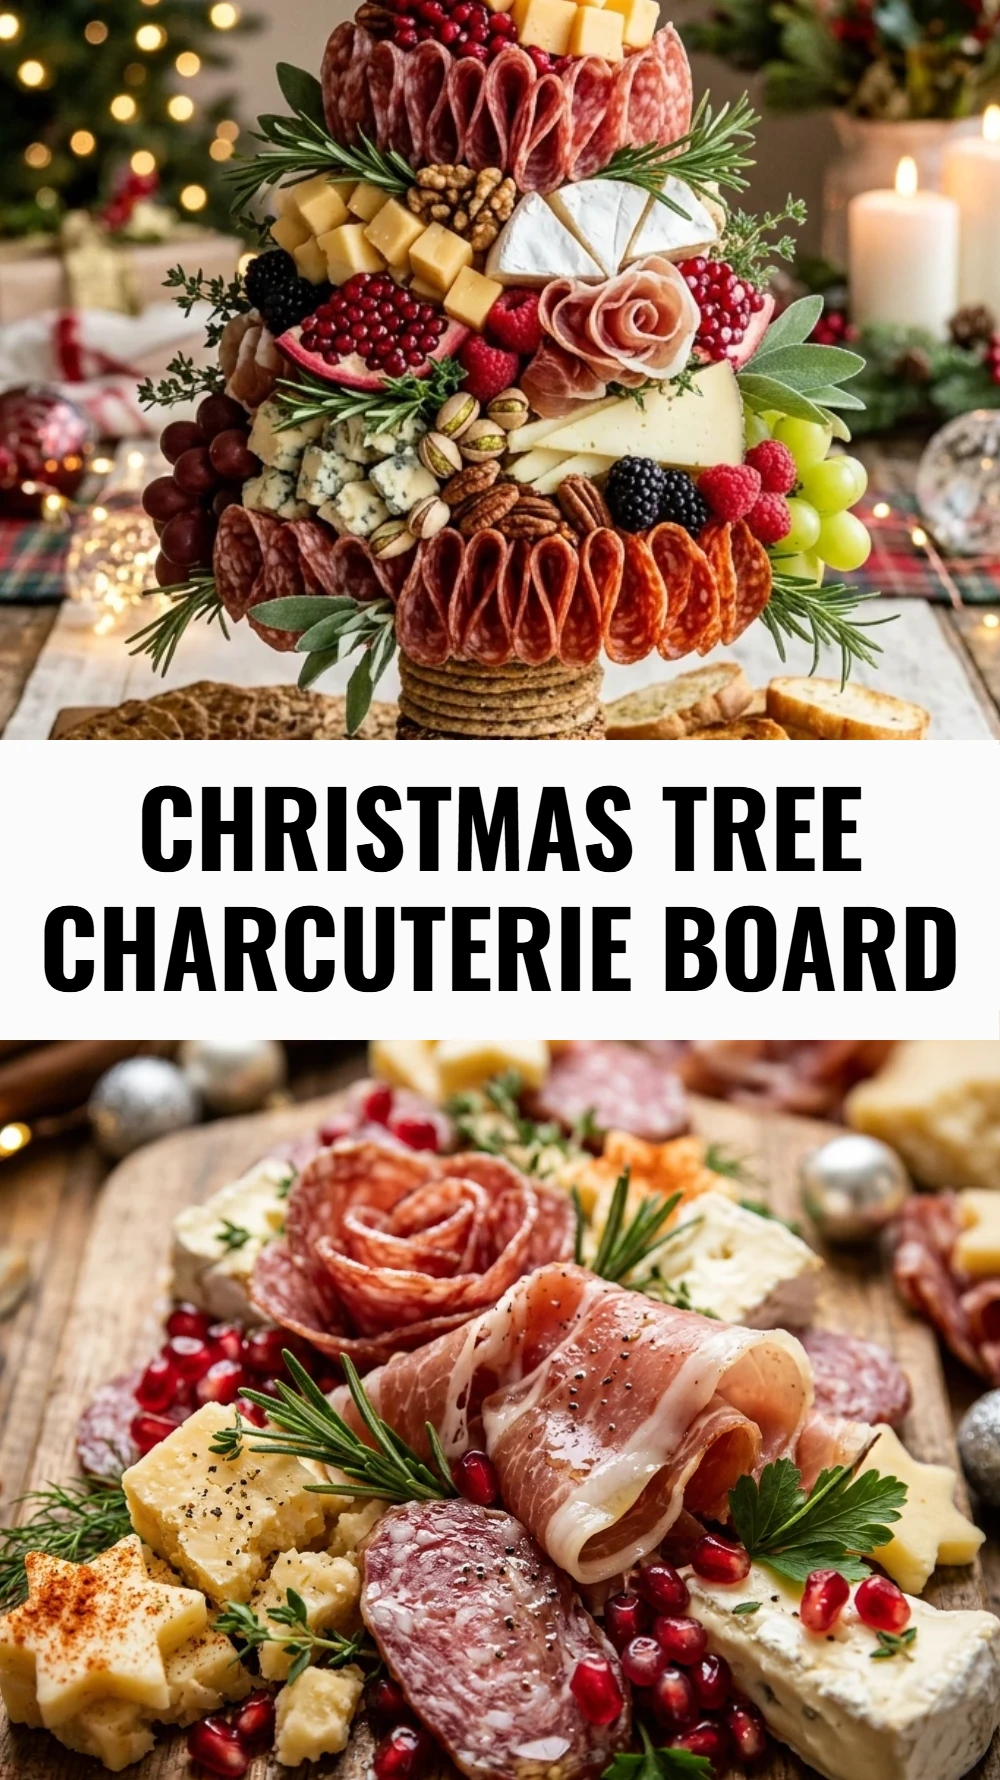

Christmas Tree Charcuterie Board
- Total Time: 30 minutes
Ingredients
- 8 ounces sharp cheddar cheese, cubed
- 8 ounces Monterey Jack or white cheddar cheese, cubed
- 6 ounces turkey deli slices, folded into small ribbons
- 6 ounces beef bresaola or smoked turkey breast, thinly sliced
- 1 cup green grapes
- 1 cup red grapes
- 1/2 cup fresh blackberries
- 1/2 cup fresh raspberries
- 1 cup assortment of crackers, round and rectangular
- 1/2 cup roasted almonds or walnuts
- 1 bunch fresh rosemary sprigs
- 1 small star-shaped piece of cheese or a yellow bell pepper for the topper
- 1 pretzel rod or a small bunch of cinnamon sticks for the tree trunk
Instructions
- Step 1: Prepare the Board and Trunk Start with a large wooden board or a clean flat platter. Place your pretzel rod or cinnamon sticks at the bottom center of the board to act as the trunk of the tree. This provides a clear anchor for your design and helps you stay centered as you build upward.
- Step 2: Create the Foundation Layers Begin building the bottom layer of the tree by placing a row of green grapes or large cheese cubes in a wide horizontal line just above the trunk. Make sure this first layer is the widest part of your triangle shape to ensure the tree looks balanced as it narrows toward the top.
- Step 3: Layer the Meats and Cheeses Continue building upward by alternating rows of different ingredients. Add a row of folded turkey deli slices, followed by a row of white cheddar cubes. Each subsequent row should be slightly shorter than the one below it to create that classic evergreen silhouette.
- Step 4: Incorporate Color and Texture Fill in the middle sections with red grapes and berries to add pops of festive color. Intersperse rows of crackers and nuts to provide crunch and variety. Using different colors for each row makes the Christmas tree shape more distinct and visually appealing.
- Step 5: Add the Greenery Garnish Tuck small sprigs of fresh rosemary between the rows of food. The rosemary mimics the look of pine needles and adds a wonderful aromatic element to the board. Ensure the sprigs poke out slightly at the edges to soften the shape and give it a more natural appearance.
- Step 6: The Finishing Star Top your tree with a star cut from a thick slice of cheese or a yellow bell pepper. This final touch completes the look. Double check for any large gaps on the board and fill them with extra nuts or small berries to make the display look lush and full.
- Cook Time: 30 minutes
- Diet: Gluten-Free (option), Nut-Free (option)